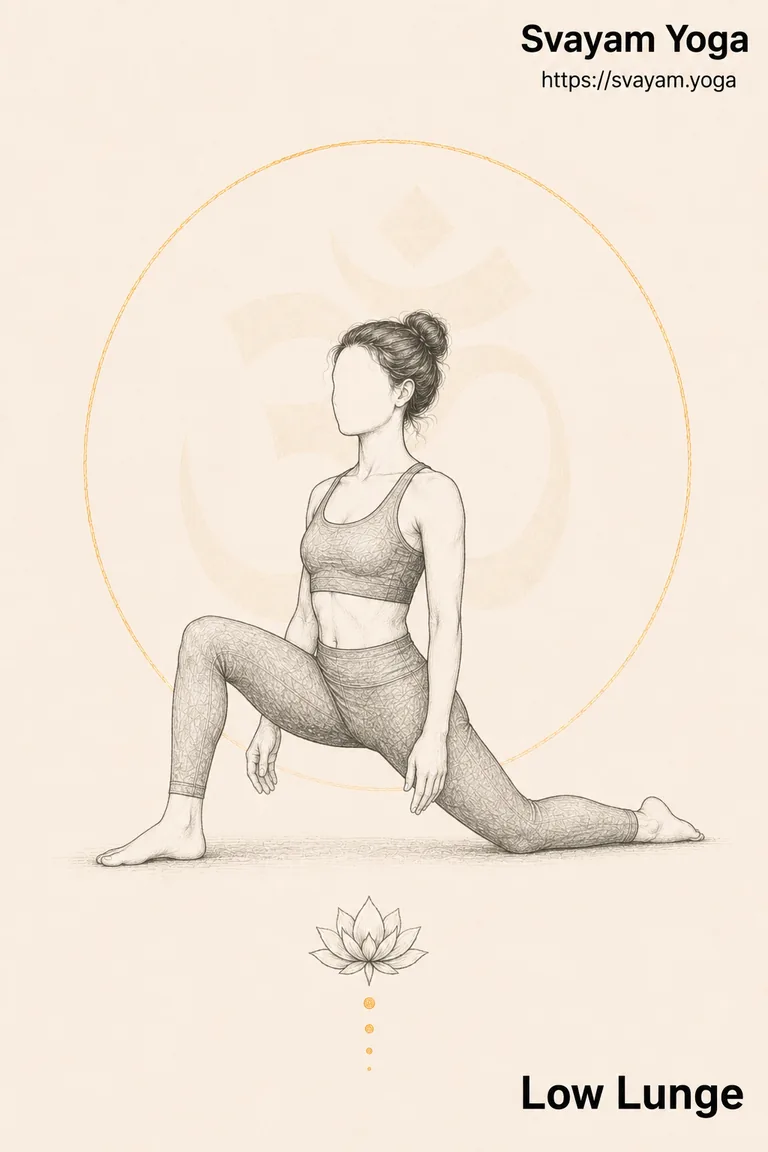
Low Lunge
Anjaneyasana
Low Lunge (Anjaneyasana) is treated in the Svayam library as a kneeling, hip opening practice. Step one foot forward between the hands and lower the back knee; bring the pelvis forward without collapsing the low back and raise the torso or arms as comfortable. The emphasis is on a repeatable, breath-friendly shape rather than achieving a fixed visual depth.
Breath: Use a smooth, unforced breath throughout the posture.
Before you practise this
This library provides general educational guidance, not individual medical advice. Modify or omit a posture when a health condition, injury, pregnancy, surgery or clinician advice makes it inappropriate.
- Work within a pain-free range and come out of the pose if you feel sharp pain, numbness, dizziness or loss of control.
- Use props or a reduced range if the setup cannot be maintained comfortably and steadily.
How to do Low Lunge
- 1Set up the starting position and establish a stable, comfortable base.
- 2Step one foot forward between the hands and lower the back knee; bring the pelvis forward without collapsing the low back and raise the torso or arms as comfortable.
- 3Refine the position only while the breath remains smooth and the joints feel supported.
- 4Stay for several comfortable breaths or for the duration appropriate to the practice goal.
- 5Exit slowly by reversing the entry and pause briefly in a neutral position before continuing.
What the pose is doing
Step one foot forward between the hands and lower the back knee; bring the pelvis forward without collapsing the low back and raise the torso or arms as comfortable.
Alignment cues
- Prioritise a stable base before increasing range of motion.
- Keep the breath easy; if breathing becomes strained, reduce the intensity of the shape.
Breathing
- Use a smooth, unforced breath throughout the posture.
- Let the inhale create space and the exhale reduce unnecessary tension.
Common mistakes
- Chasing depth or appearance at the expense of steady breathing and joint comfort.
Tips for beginners
- Use blocks, a strap, wall or chair whenever a prop helps you maintain a clearer and more comfortable shape.
- Support the knees or hips so the stretch remains broad rather than sharp.
Benefits
- Explores hip mobility while encouraging gradual, supported range of motion.
- Develops comfortable transitions through hips, shoulders and spine close to the floor.
- Encourages body awareness and a repeatable relationship between movement and breath.
- Can be scaled with props or range changes to support gradual skill development.
Variations
Make it easier
- Support the pelvis or knees with folded blankets or blocks.
Standard
- Practise the described classical or commonly taught version with steady breathing and controlled transitions.
Make it harder
- Increase duration or range gradually while preserving the same alignment priorities.
Anatomy
Anatomy fields describe broad movement emphasis rather than claiming a single muscle activation pattern; actual loading varies with proportions, variation, props and technique.
Regions worked
Joint actions
Notes for teachers
- Cue the base and direction of effort before cueing a deeper range.
- Offer at least one prop-supported or lower-intensity option.
Sequencing
Prepare with
Follow with
Counter pose
Practise Low Lunge with feedback
Reading the cues is one thing; knowing whether your own alignment matches them is another. Svayam's posture analysis watches you through your camera and tells you what to change - and a teacher can review the same session afterwards.
Already practising? Open Low Lunge in your library
This page is general information about a yoga posture, not medical advice. If you have an injury, a medical condition, or are pregnant, check with a qualified health professional before practising.